In This Guide
Vinyl siding is one of the most affordable ways to protect your biggest investment – your house. It is lightweight in comparison to other siding materials and very durable. However, if there is one fault that can be found with it, it’s that it fades over the years.
Heavy gauge vinyl will last upwards of 50 years with very little maintenance. However, UV rays will fade it out over time, giving it a tired, dull look that even power washing can’t renew.
Can You Paint Vinyl Siding?
Yes, you can paint it! 20 years ago, or even 10 years ago, the answer would have been less encouraging, but with today’s high-quality paints, it is entirely possible to freshen and protect your home’s vinyl with a coat of good paint.
Today’s modern paints are higher quality than those of a decade ago, with better bonding agents and more durable pigments. To paint your siding, you will need high-quality acrylic latex paint designed for exterior use. Look for a brand that uses vinyl-safe elements.
Notice: Before you paint, be sure to check the warranty on your siding. Many brands provide a lifetime warranty, but if you alter the vinyl in any way, the warranty is voided and some manufacturers count painting as a form of alternation.
4 Benefits of Repainting Vinyl Siding
When a power wash won’t do the trick anymore, you can either replace or paint old siding to make your home’s exterior look like new again.
1) Affordable
Painting siding is a more cost-effective alternative to completely replacing it. Replacement costs are typically around $20 to $30 per square foot, while painting costs around half of that amount – saving you 50% to 60%.
2) Looks Like New
Besides the cost savings, a fresh paint job will give your siding a factory-new look – much nicer than what power washing can provide. This not only adds an aesthetic element to your home, it improves its value. A beautiful home will sell for more, and the refreshed color will convey the impression that your home is well-maintained.
3) Change the Color of Your Home
Colors come into favor and fall out of favor. In the 1980s, everybody painted their houses with blue fascia and cream soffits.
You can pick a paint color that is different than your current siding to change the color of your home so that it matches your personal design preferences or modern trends. An updated color scheme has better curb appeal and dresses up your neighborhood, which should also make your neighbors happy!
4) Added Layer of Protection
Perhaps one of the most important benefits of repainting is the protection it provides. The latest technologies have been used to develop strong yet flexible paints that will expand and contract with your vinyl, providing the protection it needs from further damage from UV rays. In addition, the underlying layer will be better protected from moisture and insects.
How to Paint Vinyl Siding
Painting is not a difficult task, but it does require the proper equipment and plenty of preparation. There are not any “secret application tricks” to learn because the paint has all of the secrets engineered into it. In fact, painting vinyl actually requires less prep work than painting other types of siding, such as brick, wood or hardboard.
If you have ever painted a wall, then you are already familiar with the mechanics of painting and much of the following will serve as a refresher. We will also outline the considerations specific to painting vinyl that you should keep in mind.
Step 1: Selecting Colors

Sherwin-Williams and Benjamin Moore have great color palettes designed especially for vinyl. As you weigh your choices, remember not to select a dark color. Dark paint absorbs heat, which can make the paint bubble and flake off. It can also warp the planks of vinyl to the point that they need to be replaced.
Sherwin-Williams’ VinylSafe Color Palette and the Colors for Vinyl Siding line from Benjamin Moore have over 100 colors to choose from and are specifically designed for application on vinyl surfaces.
There are some darker shades included in the palettes, but they are engineered to reflect heat rather than absorb it. The VinylSafe line provides colors that are tinted in the Duration, Emerald, Super Paint, and Resilience lines of exterior latex paint.
Step 2: Selecting Paint
You may be able find cheap exterior paint at a hardware store, but your siding requires specially formulated paints to make your efforts worthwhile.
Look for latex exterior paints that contain urethane and acrylic resins. These compounds enable the paint to retain its elasticity and withstand the expansion and contraction of vinyl as it heats up during the day and cools at night. Other paints may crack and flake off over time.
Step 3: Priming
Luckily, vinyl siding typically doesn’t need priming before it is painted. If the surface is severely degraded, such as pitted and porous, or the original color is worn away, you should prime it.
Step 4: Cleaning
Just as your selection of paint is crucial to the success of the project, the cleaning process is also critical. In fact, you’ll probably spend more time cleaning than you will painting.
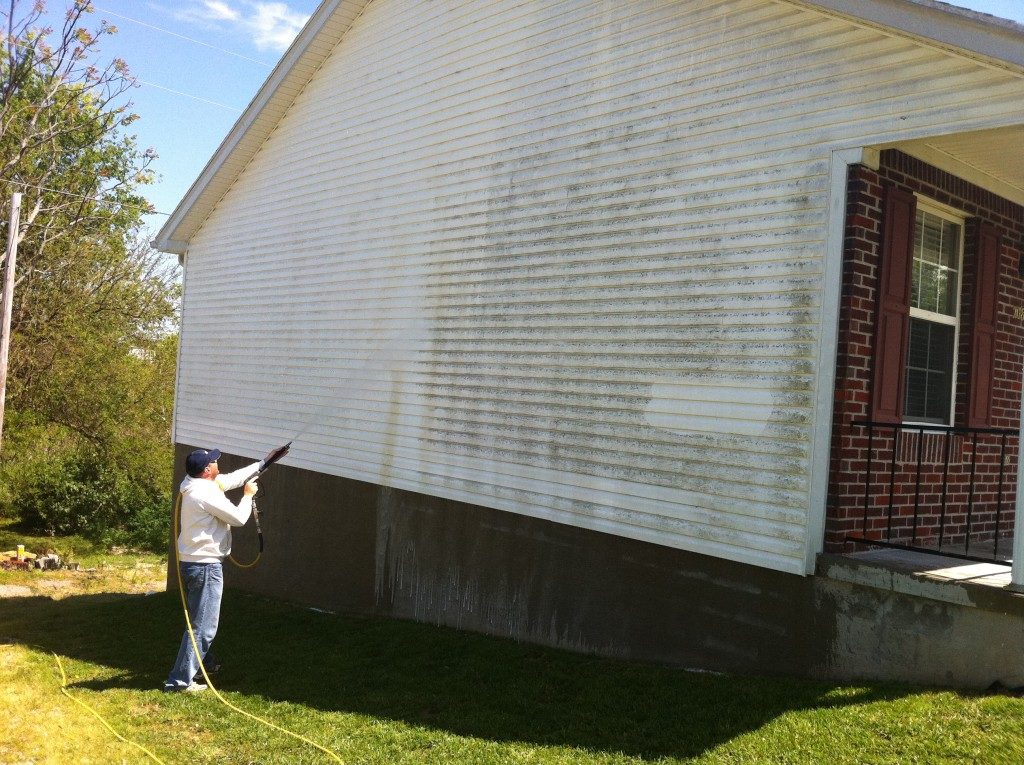
Simply rinsing the siding with a hose won’t get the job done. You’ll have to scrub off all of the mildew, chalky residue, mold, and any debris from the surface and seams of your siding. If you don’t, the paint will just peel off after it dries.

You don’t have to spend money on expensive professional cleaning chemicals. Just mix laundry detergent, Comet, bleach, and water, and you will have the perfect combination to clean siding:
Create the Cleaning Solution
In your container, which may be your power washer or pump-up garden sprayer, pour in one gallon of water. It is important to put the water in first, because if you add the detergent first, it will foam and expand when you add the water.
Next, pour a quart of laundry bleach into the water, then add two-thirds cup of Comet, Ajax, Bar Keeper’s Friend, or some other powdered cleaner.
Finally, add one-third cup of laundry detergent. This can be either granular or liquid.
Once you have all of the ingredients in the container, mix them well.
If you use a power washer, be careful with the pressure settings so that you don’t damage the siding or peel off paint that is well-attached with the power of the stream. If the siding had been previously painted, you can power wash any peeling paint from the surface.

The best way to clean siding for painting is to use a garden sprayer. Aim the nozzle down, because you don’t want to force water up under the edges of the siding.
Once you have covered the siding with the solution, let it sit for about 10 minutes. Then scrub it with a soft-bristle brush. Rinse the siding well, and allow it to dry thoroughly.
Step 5: Check the Weather
The success of any paint job largely depends on the weather. If it is too hot, the paint will dry too quickly without evening out, giving it a blotchy appearance. If it is too windy, it can blow debris into the paint or dry the surface too quickly, leaving an uneven finish. Paint applied under these conditions can crack and flake off over time.
Look for mild temperatures and low humidity. It is also helpful if the sky is overcast so the sun won’t heat the surface and dry the paint too quickly.
Step 6: Make Sure the Paint Sticks
With the high-quality paints available today, you can find a brand that will adhere to your siding. However, the only way to know for sure is to do a test.
How to do an adhesion test:
Paint a few small sections of siding with 100% acrylic paint. It’s a good idea to apply it to different sides of the house. Let it dry for about 48 hours.
With a utility knife, cut Xs and tic-tac-toe designs in the paint. The cuts should cut all the way through the paint.
Take sections of clear, high-quality, packing tape and press it firmly onto the scored sections. Rub it to make it adhere thoroughly, and then peel the tape off, pulling it at a sharp angle. The objective is to pull off any paint that has chipped loose in the corners.
If there is only a tiny amount of paint on the tape, then it is adhering very well. But, if a lot of paint adheres to the tape, you need to try a different brand.
Step 7: Painting

If the vinyl is peeling and cracked, a primer should be applied first. Then, you can apply the paint.
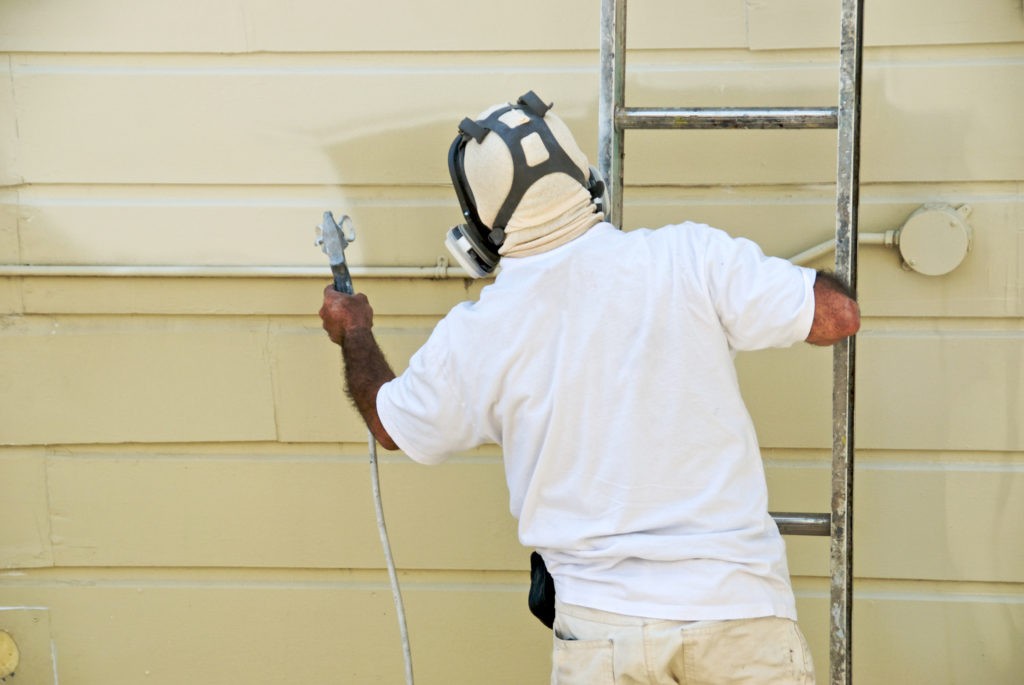
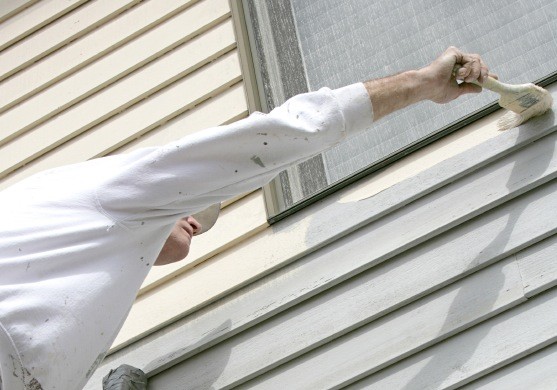
It is perfectly acceptable to use a paint sprayer to apply 100% acrylic paint. Use the sprayer to coat the surface, taking care to apply the paint evenly. You can also use a roller to apply the paint. Use a brush to paint the edges around windows and doors, and to paint into the corners.

It is better to apply one thin layer of paint and let it dry, and then apply another thin coat than only one thick layer. The second coat needs about 24 to dry completely.
Two coats are usually enough to call the project complete, but if you are not satisfied with the look, a third coat can be applied after the first two have cured.
With proper preparation and good painting conditions, your high-quality paint should look good for 10+ years!

What to Read Next
- Types of Vinyl Siding: 8 Styles to Choose From
- How to Choose the Best Vinyl Siding
- 8 Best Siding Options + Pros & Cons
Over to You
We’re interested to know – have you painted siding before? If so, what paint did you use and do you have any tips or tricks that we didn’t include? Let us know by leaving a comment below!
